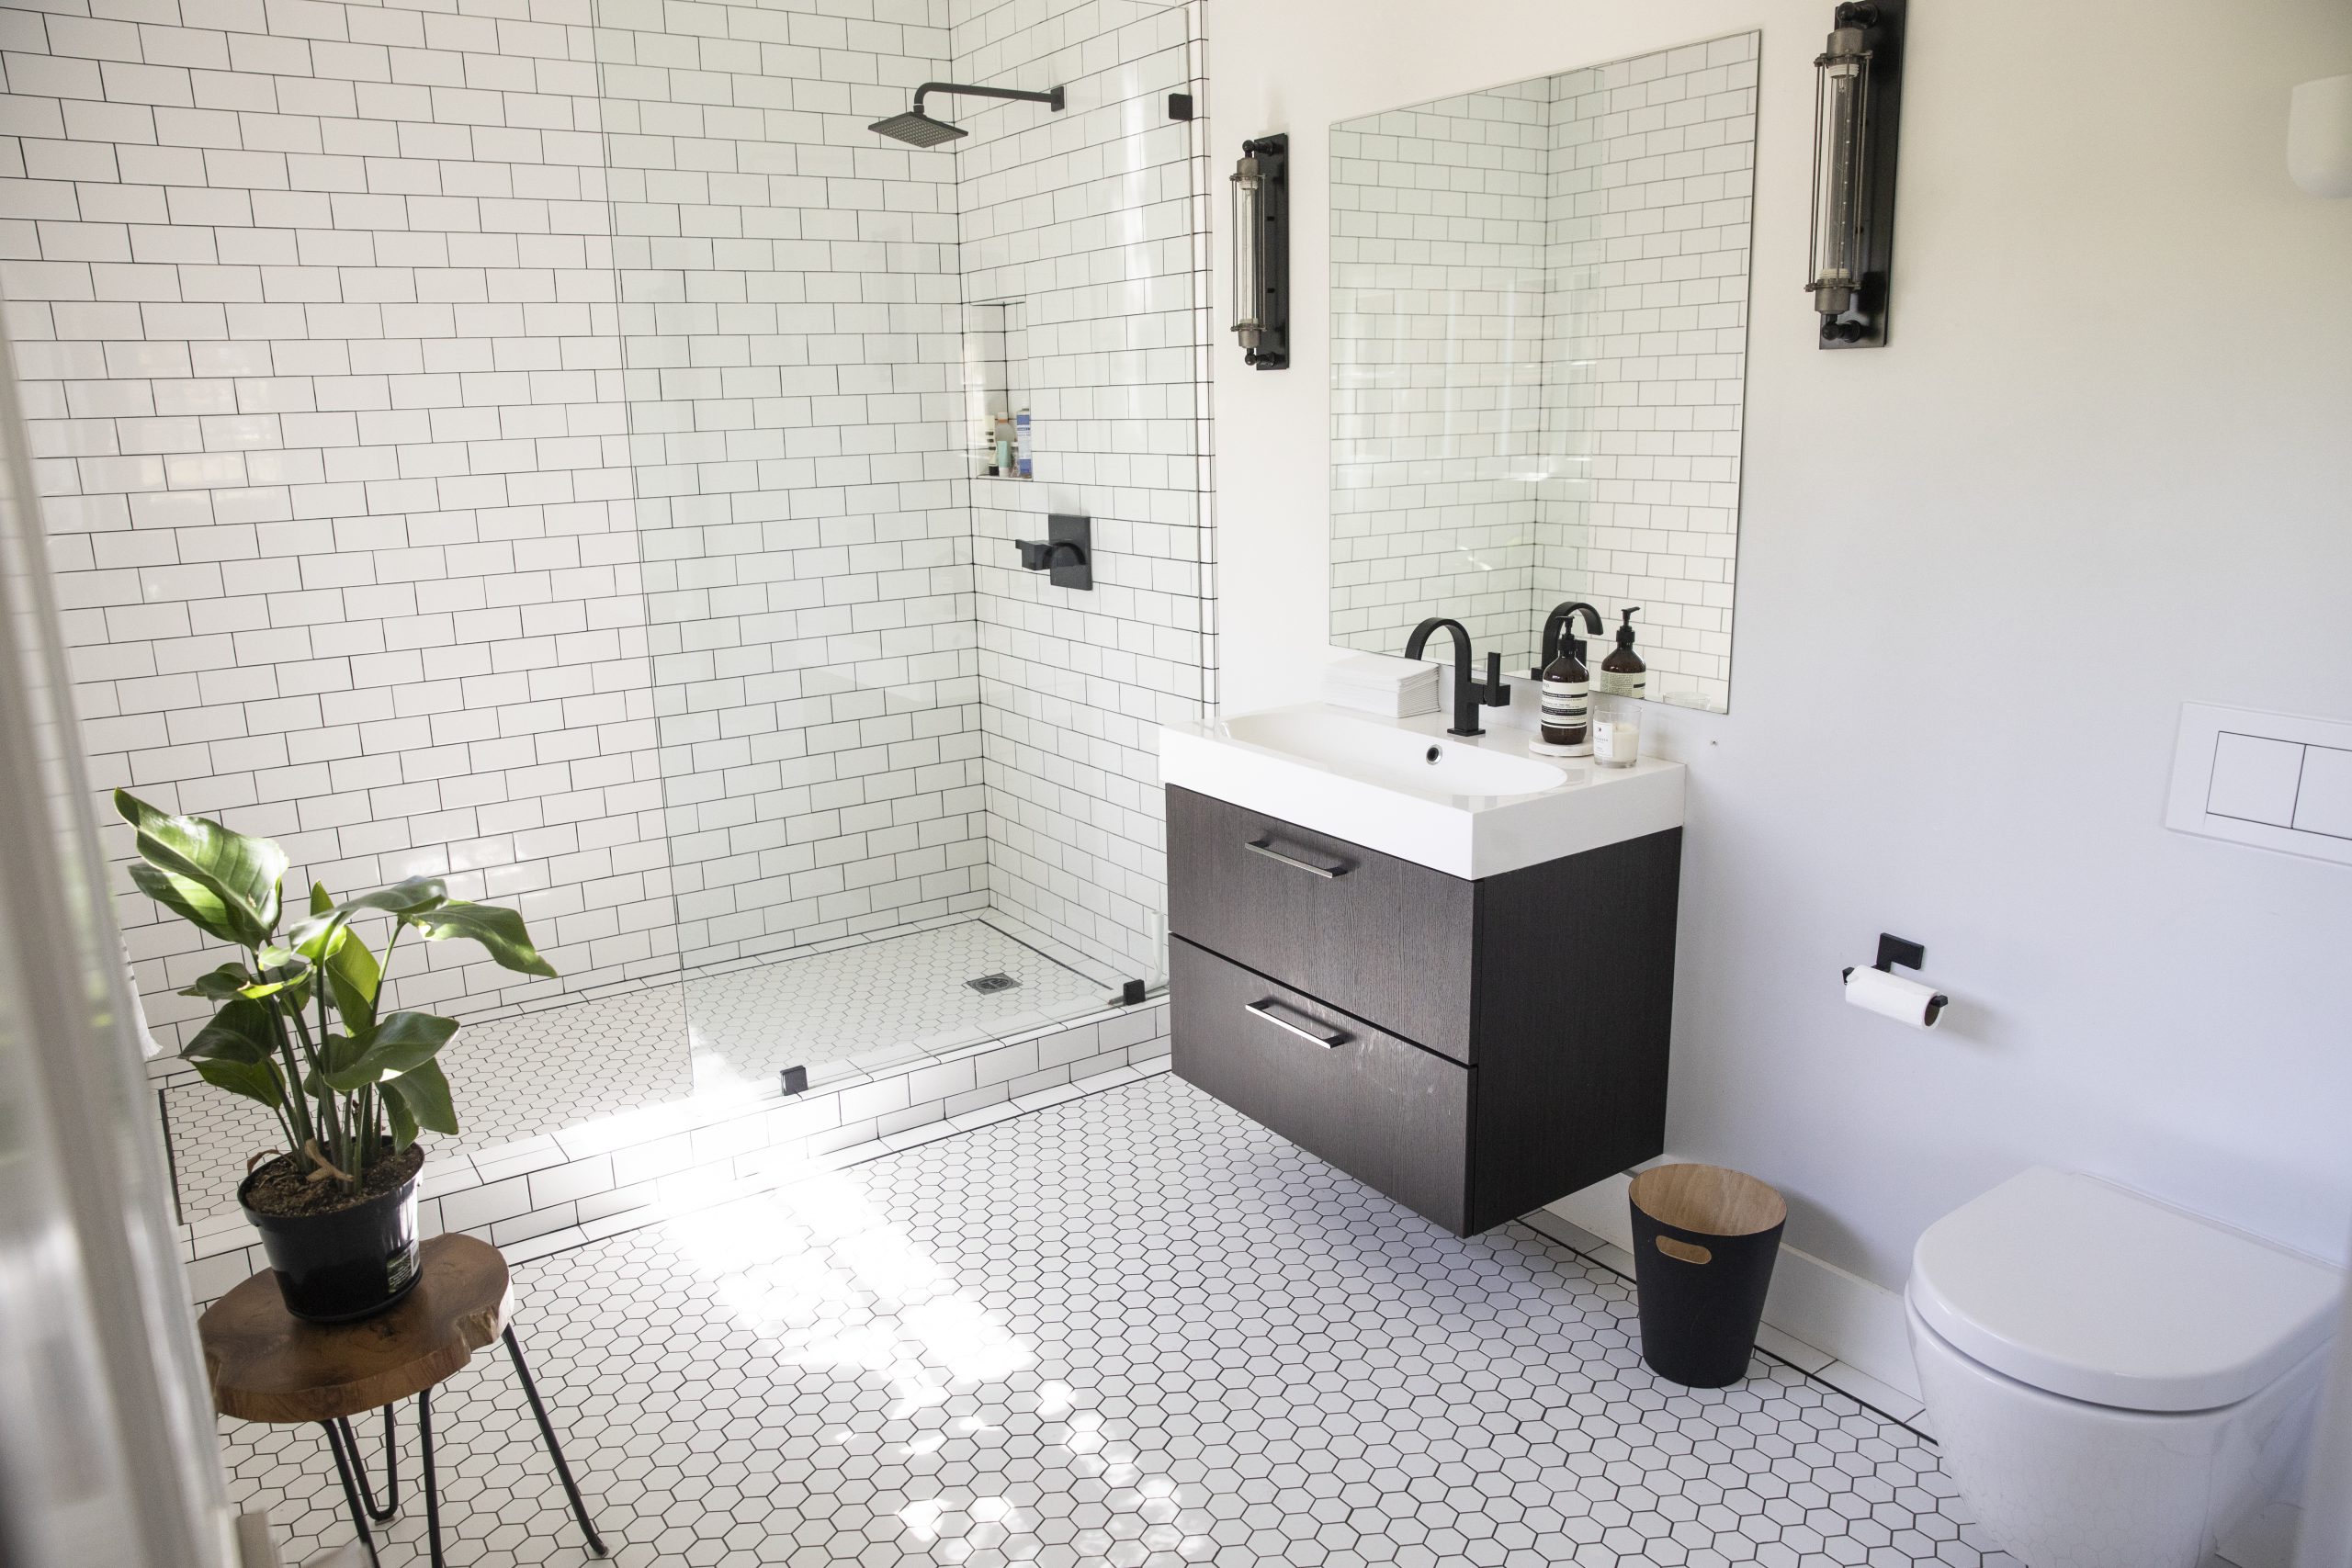
If you want to add value to your home, one of the best remodel projects in the current market is a bathroom makeover.
Few features of a home have the wow factor of a beautiful, new bathroom. Real estate research suggests you can add 10% onto the asking price of your entire home if you’re offering a brand new bathroom.
As an experienced real estate agent however, I appreciate that bathrooms are a difficult upgrade. Often, the space is tight and the room must be sealed with a waterproof membrane to ensure leaks do not damage the structure of the home. Also, you need to live without a bathroom while you’re renovating, and that can be a challenge.
It’s a great investment, though. And with the property market so strong at the moment, this is an excellent time to consider maximizing the value of your home with a view to a future sale.
A word to the wise: unless you’re a professional builder, I’d counsel against a DIY remodel. A bathroom is the province of experienced contractors, especially as you may confront unforeseen problems along the way.
Here are some of the critical components of a bathroom makeover to give you an idea of the work involved, and the order in which the work needs to be done.
- Planning – Any mistakes that surface later in the project are usually made in the planning. You’ll need to create a floor plan that includes storage options, power outlets, as well as identify the style and color of tiles, and the design of shower, bath, toilet and vanity. See if it’s practical to install a large window, too, as this is highly desirable among buyers today. They love the additional ventilation and light, and (if possible) the view.
- Select a contractor – Obtain a minimum of three quotes. Give each contractor the same brief so you can compare them equally. Be diligent with pricing that either embellishes or reduces your brief. With bathrooms, you pay for what you get.
- Make a budget – Once you have chosen the contractor, and you know their costs, you should create a budget and stick to it!. By this stage, you should have selected items such as faucets and towel rails, vanities and porcelain.
- Permits and materials – Your contractor will be best positioned to undertake these tasks for you. So, don’t forget to put this responsibility in your request for price (RFP).
- Demolition – The degree of chaos will depend on your situation. You may be deploying a rip-and-replace strategy, which means everything comes out and you start again. This is hardcore, expensive but sometimes essential. With other bathrooms, a smaller scale approach is possible. You may be able to tile over the existing tiles, and swap-out the shower unit, toilet and vanity without having to reseal against water leaks. Get independent advice at the planning stage to understand your best options.
- You’re framed – Contractors will then go about what’s called a “framing rough-in” that will set you up to install all the bathroom essentials in the right place and put up the drywall.
- Plumbing – The pipes will be repositioned where necessary at this stage. If you can avoid moving pipes in a renovation, it will help keep the costs down. Moving pipes is expensive and is likely to require the bathroom to be sealed again. If you do move them, some authorities will want to inspect the rough-in and the final work.
- Power up – Your contractor will call in their electrician at this stage and place the power sockets and lights where you have requested. Make sure that as part of the project, you have included heat lamps and an extractor fan to minimize the moisture residue from baths and showers. And don’t forget an additional outlet if you want a heated towel rail. This can be another two-inspection process.
- Wall it up – Installation of gyprock walls, ceiling and plastering begins now, and the bathroom is starting to take shape.
- The cosmetics – Now the fun begins as tiles and flooring are laid. While it’s tempting to do this task yourself, leave it to a professional, who should get the job done right first time and take only a fraction of the time needed by an amateur. Remember, you can save money here by purchasing end-of-line tiles, but don’t underestimate how many you’ll need or you’ll get yourself in trouble.
- Cabinets and storage – You’re getting close to the last lap now. While this is another task that you might feel is within your skill-set, leave it to your contractor. In small bathrooms, getting everything to fit can be a challenge even for an experienced builder and especially if they are wall hung.
- The hook-up – Your plumber and electrician will return to install and connect everything. Make sure that you like how the switches are positioned on the panel for the lights, heat lamps and extractor fan. And check the water pressure, toilet flush, temperature of the hot water and efficiency of the extractor vent.
