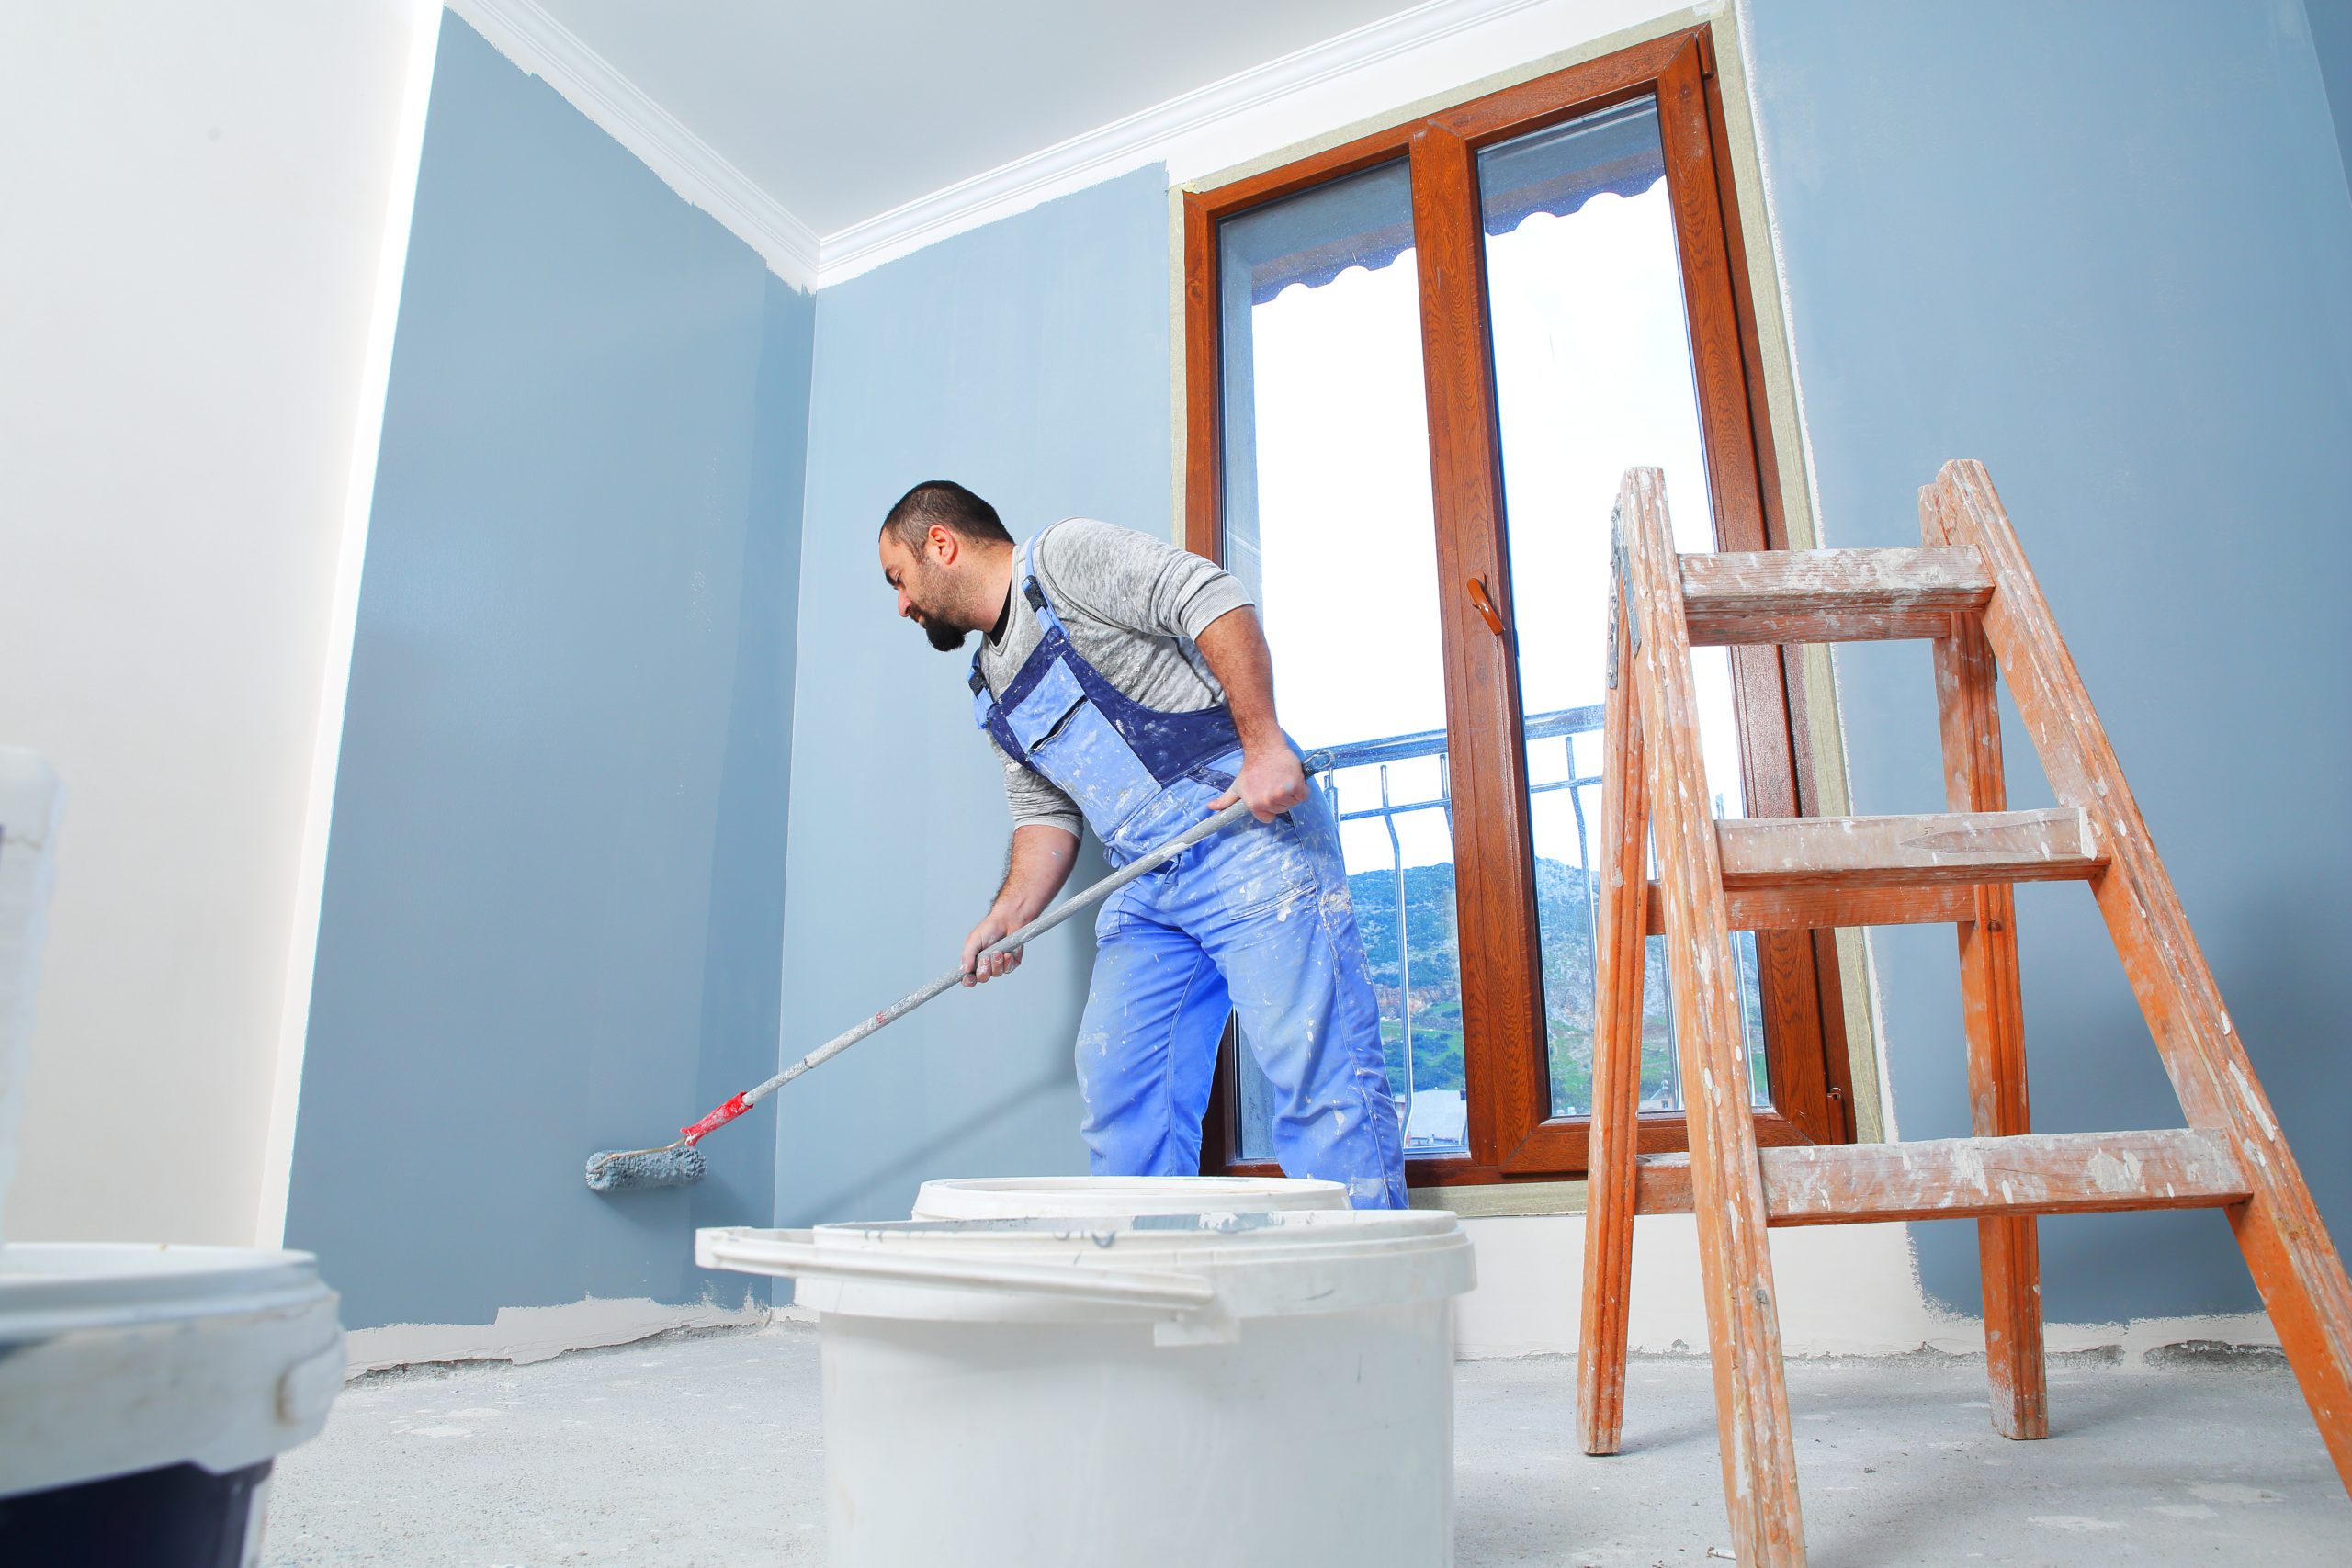
A budget-friendly improvement that you can make to your home – whether you’re about to sell or you’ve bought a fixer-upper – is to give it a lick of paint.
A bright, open home is right at the top of buyer expectations these days, and creating a fresh, beautiful colour scheme will turn heads.
Avoid big, bold colours and feature walls if you’re about to put your home on the market. Keep it light and bright as rooms always feel bigger with walls and whites and creams.
These tones will not offend anyone and give you the best chance of selling your home at the best possible price.
There’s no doubt it does take a certain mentality of patience to paint correctly. It’s a lot of work and time-consuming, but the result is always worthwhile.
Below are some painting tips to get truly professional results.
Take time to prepare
Prepping is boring, but it’s essential and the single most important thing that will give you a professional looking result. Clean the walls with sugar soap and tape over areas you wish to protect, and lay drop sheets accurately, or you risk a second-rate job.
Less is more
Avoid the temptation to submerge your brush too deeply into the paint. It’s best to dip no more than a third of a bristle length. Slopping paint everywhere won’t make the task any quicker. And you won’t do the brush any favours. A build-up of paint near the base of the handle shortens the life of the brush.
Hit the roof
There’s special, drip-free paint for ceilings, so make sure you buy the right product for that job. Don’t assume wall paint is just as easy.
Repetitive process
If you’re painting new gyprock, use an undercoat, or you’ll paint at least three coats, maybe four. Ask at the paintshop for the best product on the new plasterboard.
Messy cans
If you’re not diligent about keeping your container clean, you’ll find unwanted paint in the most annoying places. Here’s a little trick for wiping off excess paint: take a screwdriver, wrap it in a cloth and run it along the rims of the paint can. That will stop paint dripping down the side when you put the lid back.
Seal the deal
Here’s a clever technique for replacing the lid on your can, too. Cover the top of the tin with plastic wrap. Then, push the lid down. To make it secure, use a hammer to seal it. This way, no paint will splash over you or the immediate area as the lid goes back on.
Roll up, roll up
Storing wet paint rollers can be difficult. And yes, they take a lot of time to wash clean. Make sure you wash them in the laundry or inside – not at an outside tap – so that the water goes into sewerage, and not down the drain to local waterways. The best strategy is to wring them as dry as possible and put them in resealable plastic bags.
Colour blind
It’s annoying when you have old cans of unidentifiable paint. Avoid this frustration by daubing some paint on the lid. That way, when you go back to it weeks or months later you’ll know its colour straight away.
Colour photography
Take a photo of the paint’s label and archive it for when you need to repaint in a couple of years time. It’s easy to forget the colour’s name and code. Manufacturers also change the names all the time. Most suppliers can paint-match, but you’ll need to bring an exact sample of the colour.
Put pets away
Lock your pets away from where you’re painting. They’ll rub up against the can, get paint on themselves, or want a pat from you just as your hands are full. They’ll then walk it through the house – what a nightmare!
